Opening the problem-driven case
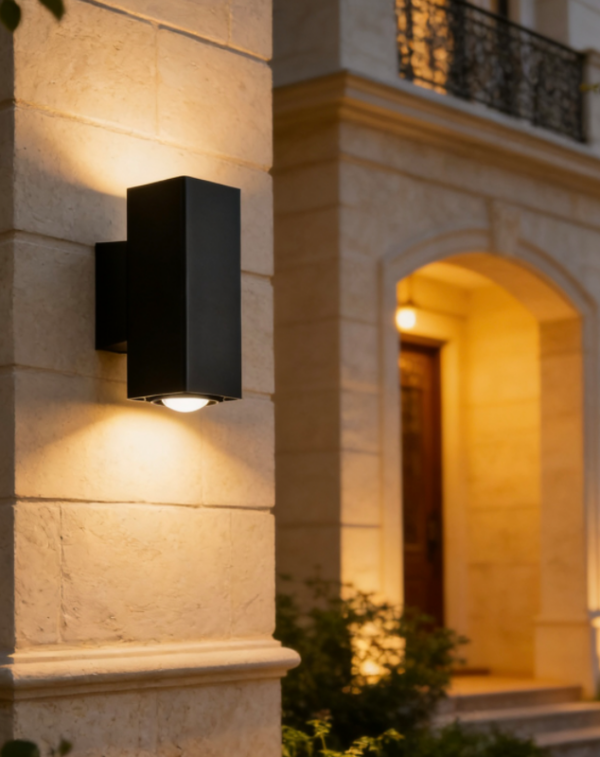
Glare and light trespass are not merely aesthetic nuisances; they undermine safety, disturb residents and wildlife, and can invalidate an otherwise robust lighting design. A problem-driven approach starts by admitting the real-world consequences and then proceeds to triage: identify the offending source, measure the effect, and apply targeted fixes. Early in that process it is worth considering fixtures with integrated control — for example, an outdoor wall lights motion sensor can dramatically cut unnecessary lumen output during quiet hours — and the International Dark-Sky Association has long emphasised that sensible controls reduce ecological impact while improving human comfort. Industry terms to bear in mind from the outset are beam angle, lumen output and IP rating: they frame both the problem and its remedy.
Diagnosing the common sources of glare
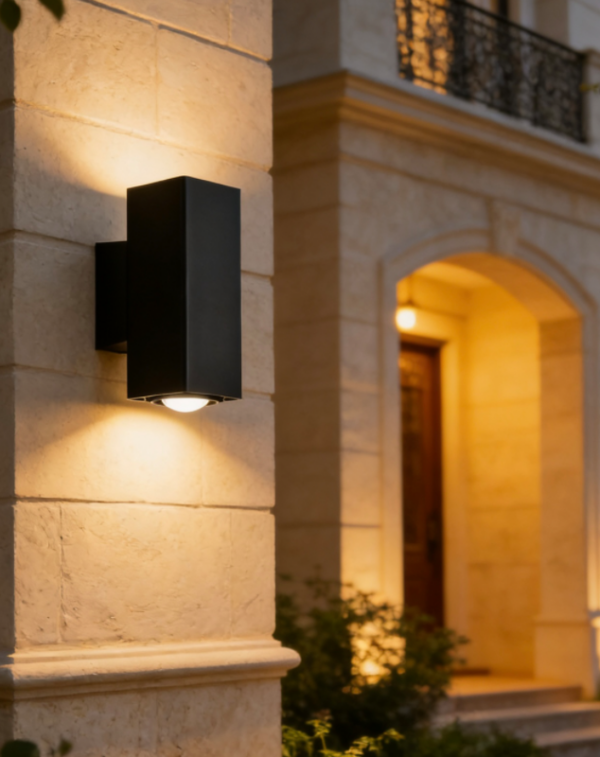
Start by categorising the glare. Typical sources are: spill light from unshielded fixtures, uplight from poorly specified fittings, and overly high correlated colour temperature (CCT) that highlights contrast and produces visual artefacts. A practical diagnostic sequence is straightforward — survey at night, record the offending zones, and capture photometric data (lux levels and beam angle spread). Pay attention to the BUG rating of installed fittings and whether the LED driver permits dimming or adaptive control. Often the culprit is not the bulb but the fixture orientation or mount height; once you correct those, the perceived glare falls away far quicker than replacing hardware.
Practical fixes and retrofit strategies
There are several proven interventions that address glare without compromising performance:
- Fit full-cutoff or shielded fittings to control uplight and reduce skyglow; specify a fixture with a low BUG rating.
- Lower lumen output where possible and tune CCT to a warmer value — for many exterior walls 2700–3000K preserves colour rendition without producing sharp contrast.
- Adjust mounting height and beam angle so light is directed where it is needed, not across property lines.
- Introduce occupancy sensors and time-based dimming to cut unnecessary output — pairing a motion sensor with a correctly rated LED driver reduces continuous spill significantly.
- Use physical barriers or louvres where architectural modifications are acceptable; they are inexpensive and effective at trimming side spill.
When retrofitting, remember to test the result on-site during the hours in which complaints occur — a laboratory spec rarely predicts the lived experience. —
Common mistakes to avoid
Practitioners frequently fall into three traps. First, over-illumination: specifying lux levels appropriate for an industrial yard on a residential façade creates nuisance. Second, ignoring controls: modern outdoor led wall lights with dimming and motion detection are both affordable and effective. Third, poor acceptance testing: failing to run a simple photometric check after installation leaves projects exposed to warranty issues and resident complaints. Ensure contracts specify acceptance thresholds (lux at boundary, allowable upward flux) and include a short on-site tuning period as standard.
Case in point: municipal walkway retrofit
Consider a municipal walkway project where residents complained of light trespass into bedrooms. The council’s lighting team measured excessive beam spill and high CCT values; by replacing unshielded uplights with shielded downlights, reducing lumen output by 35% in low-traffic hours, and adding motion-based dimming they restored comfort without losing safety. Independent bodies such as the International Dark-Sky Association and the RSPB support precisely this sort of mitigation because it reduces ecological disruption while maintaining night-time visibility for pedestrians.
Selecting products and partners
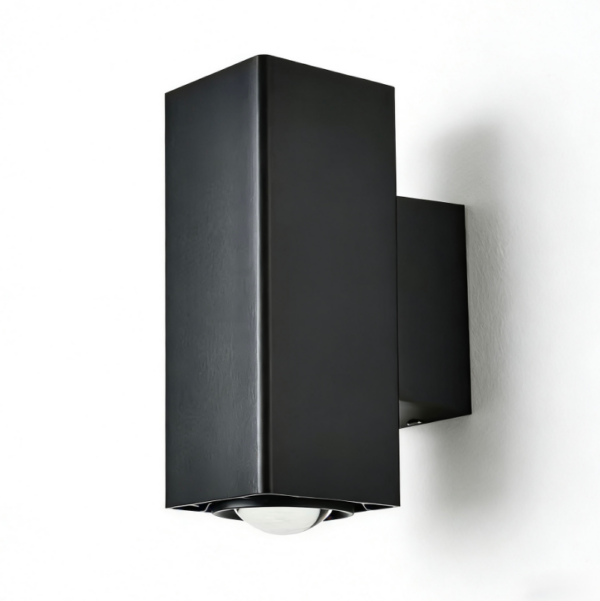
When choosing fixtures or a supplier, ask for the following: photometric files (IES), BUG rating and LED driver specifications; confirm IP rating for the environment (IP65 or higher for exposed coastal locations); and review warranty and on-site support terms. A competent partner will present mock-ups, offer commissioning assistance and be explicit about long-term maintenance. Critically, do not rely on bare lumens as a proxy for effectiveness — distribution, shielding and controls matter far more to the end-user experience.
Advisory close: three critical evaluation metrics
1) Control Responsiveness — Measure how quickly and smoothly a fixture integrates with motion sensors and dimming scenes; latency or flicker undermines acceptance. 2) Photometric Suitability — Demand IES files and verify beam angle, lumen distribution and BUG rating against project requirements; install a one-night trial to confirm outcomes. 3) Environmental Robustness — Confirm the IP rating, corrosion protection and the quality of the LED driver for the expected temperature range; poor drivers are the leading cause of premature failure.
These metrics deliver a defensible process for selecting products and strategies and highlight where Keyida’s specification detail and product support routinely add value — they make the practical difference between a tolerated lighting scheme and a respected one. —
Keyida. —